-
Tool Hire
Access & Powered Access Breaking & Drilling Building & Siteworks Carpet Cleaners Cleaning & Floorcare Concreting & Preparation Cooling, Heating, Drying Event Fixing Tools Gardening Ladders Lifting & Handling Lighting & Power Painting & Decorating Plumbing & Pumping Powered Access Safety & Ventilation Sanders Sawing & Cutting Skip Hire Surveying & Location Welding Hilti Products
- Find a Branch
- Tips & Advice
- FAQ
- Contact Us
Home How to tile a floor or a wall
When redecorating your home, whether it is your kitchen floor or new bathroom suite, tiling is a great way to add character to the room instantly. With a bit of practice and the right hire tools, tiling will work well in almost any type of room.
Tiling a wall
Step 1
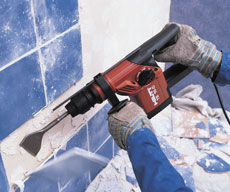
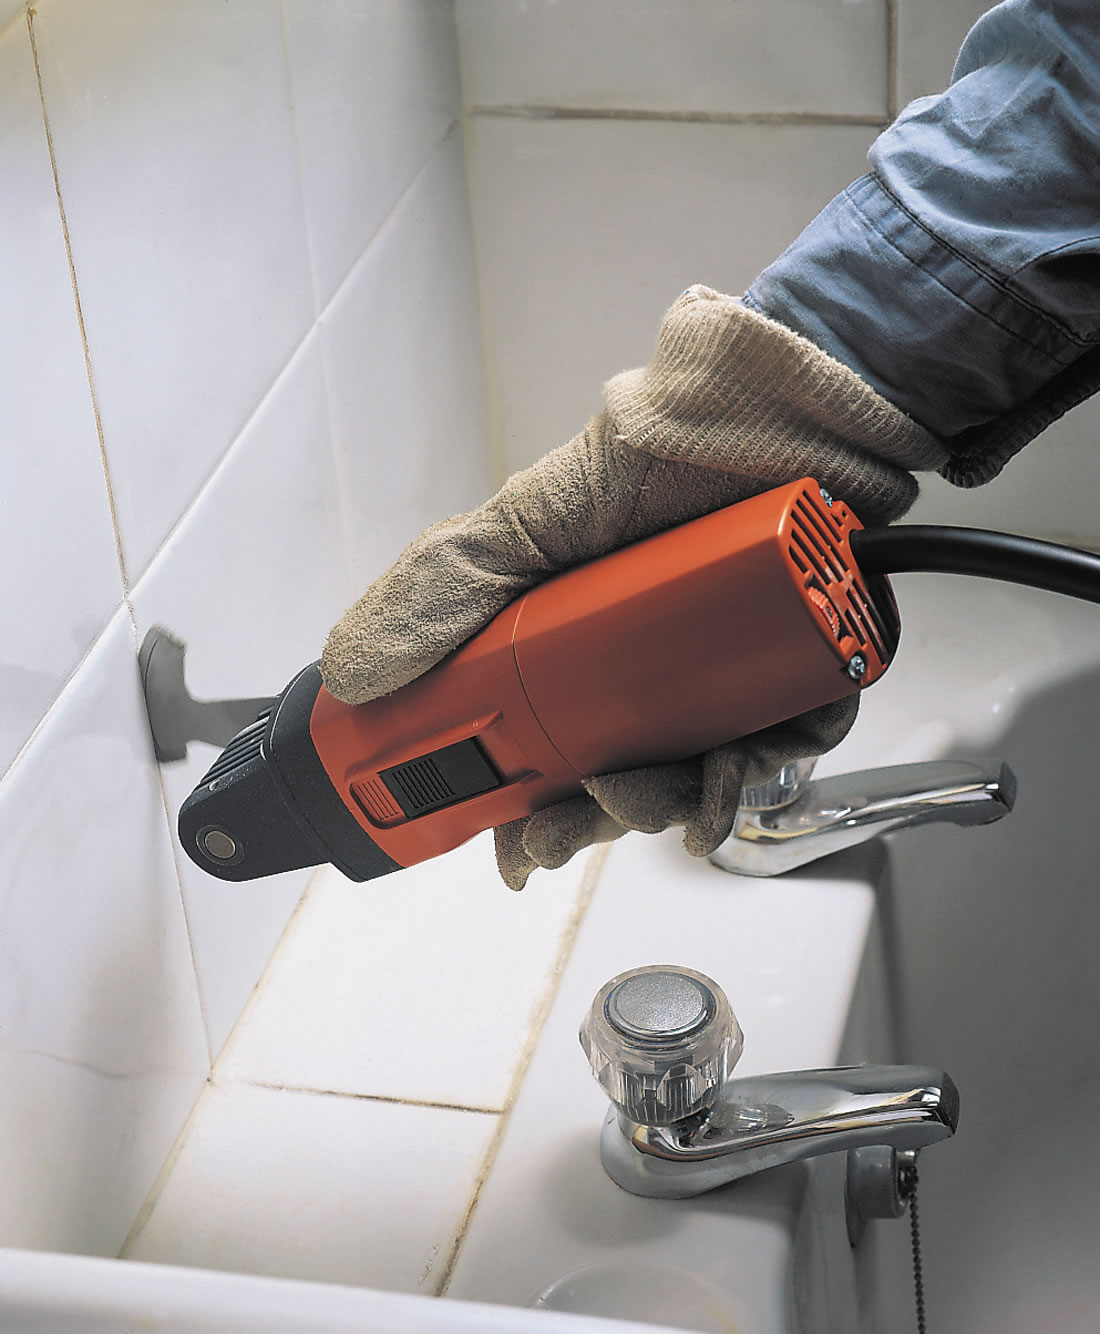
Start off with a smooth surface, which makes applying tiles much easier. This can achieve by first using a tile remover to quickly strip old tiles away. For any holes that remain in the wall, fill over, allow to dry, and run over with a drywall sanding kit to leave a smooth finish.
Step 2
You will want to ensure you start placing tiles correctly, so affix two batons to the wall to help guide your tile placement. Fix one baton horizontally, with the other being placed vertically to give an easy guide to work with.
Step 3
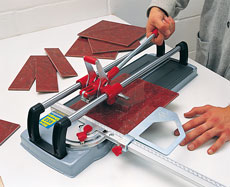
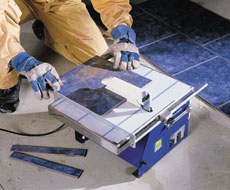
Apply your tile adhesive to the ready-prepared surface and carefully affix your chosen tiles. Use spacers to ensure a consistent placement of tiles across the wall. For over sized tiles, use a HSS manual tile cutter to get the desired size and shape.
Step 4
Once tiled, leave adequate drying time for the adhesive to set. At least 24 hours is recommended for most tile adhesives, but you should always read the instructions as some adhesives may require longer.
Step 5
Once the adhesive has dried, remove the baton guides and tile right up to the edge of the desired surface. Allow to dry and then grout the tiles, smoothing off any excess grout with a damp cloth.
Tiling a floor
Step 1
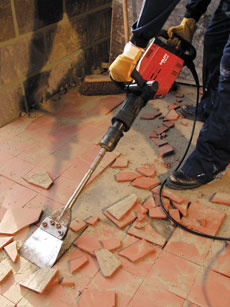
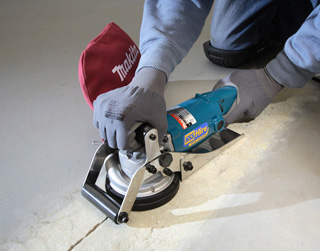
Ensure a clean working surface for tiling – see tip number one above for details. Use the HSS Grout Remover to remove any old or unwanted tiles. Consider using our concrete planer tool to remove any unwanted adhesive residue and create a flat working surface.
Step 2
Start tiling at the centre of the room – this can be found by creating a line with string from one corner of the room to opposite corner. When completed from the next corner, the string will meet in the middle of the room. You should begin tiling from this point.
Step 3
Ensuring your floor is level and smooth, begin applying tile adhesive to the floor according to the manufacturer’s instructions. Place tiles on the floor, using a spirit level if necessary to ensure they are level.
Step 4
Allow adequate drying time for the tiles, and avoid walking over any of them whilst drying. Once dry, grout the tiles and leave to dry according to the manufacturer’s instructions. Before the grout has dried, be sure to wipe off any excess from the tiles with a damp cloth or sponge.


